Build a store performance monitoring dashboard for retail stores in the USA
Context

In this tutorial, you’ll learn how to use CARTO Builder to create an interactive dashboard for visualizing and analyzing retail store performance across the USA. We’ll create two types of layers; one displaying stores in their original geometry using bubbles and another using point geometry aggregated to Spatial Indexes, all easily managed through the CARTO UI.
Thanks to this interactive map, you’ll effortlessly identify performance trends and pinpoint the most successful stores where revenue is inversely correlated with surface area. Are you ready to transform your data visualization and analysis skills? Let's dive in!
Step-by-Step Guide:
Access the Maps from your CARTO Workspace using the Navigation menu and create a "New map".
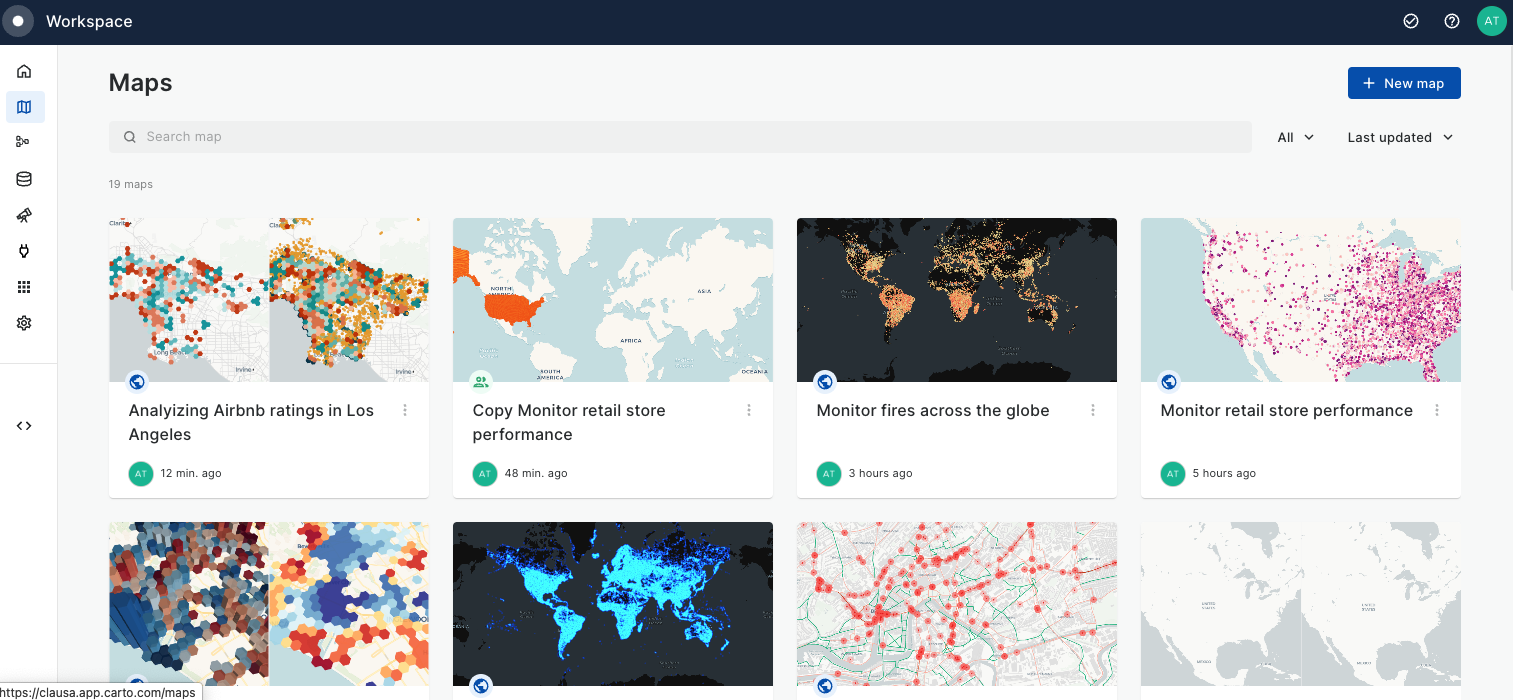
Let's add retail stores as the first data source.
Select the Add source from button at the bottom left on the page.
Click on the CARTO Data Warehouse connection.
Select Type your own query.
Click on the Add Source button.
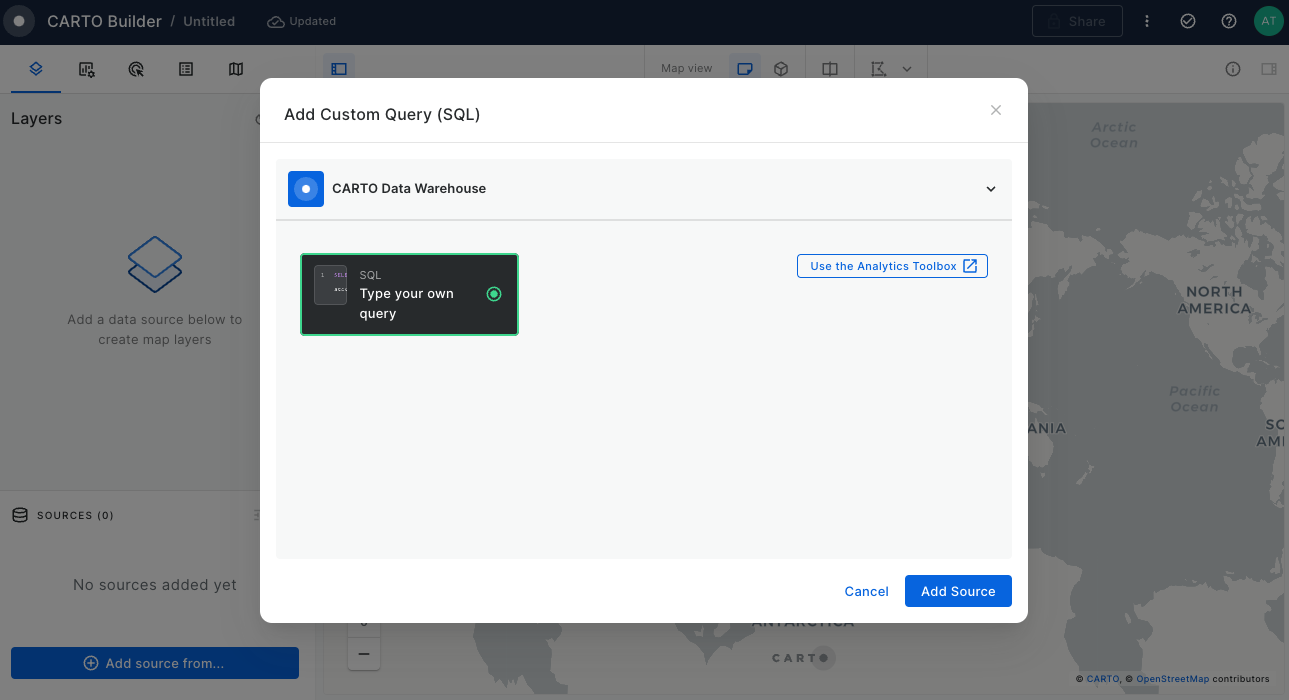
The SQL Editor panel will be opened.
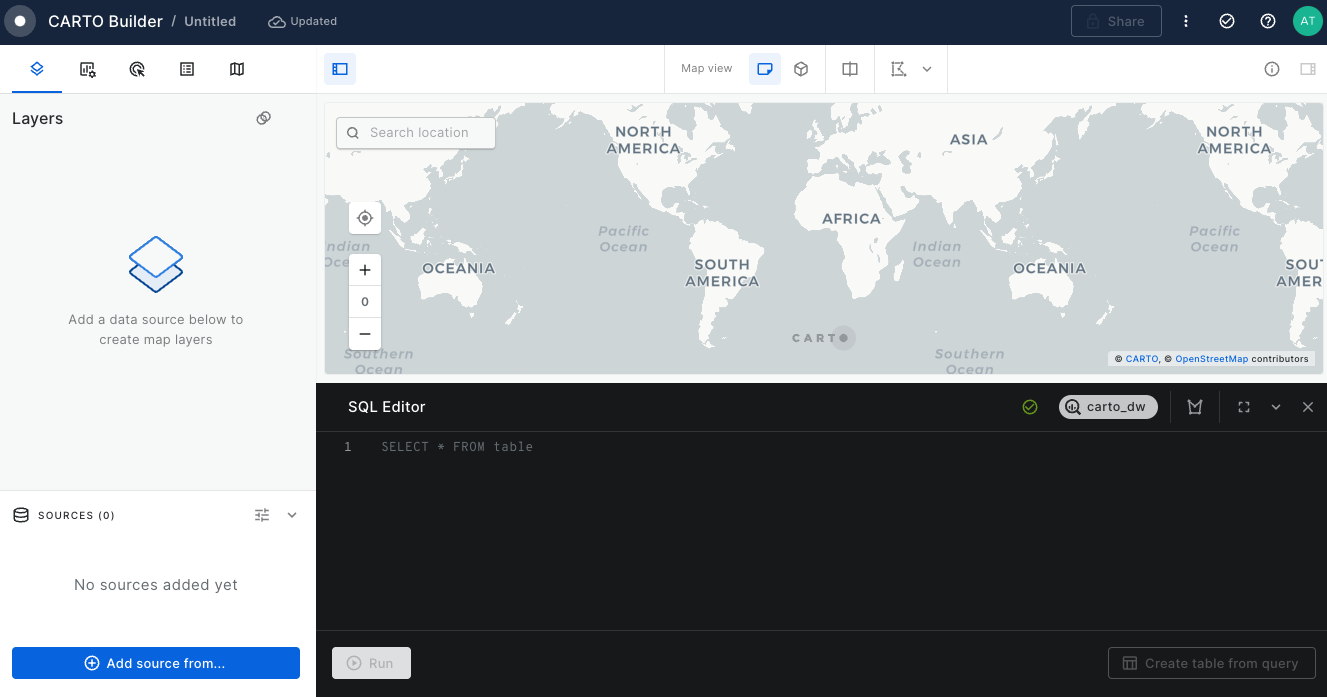
To add retail stores source, run the query below:
Change the layer name to "Retail Stores". Click over the layer card to start styling the layer.
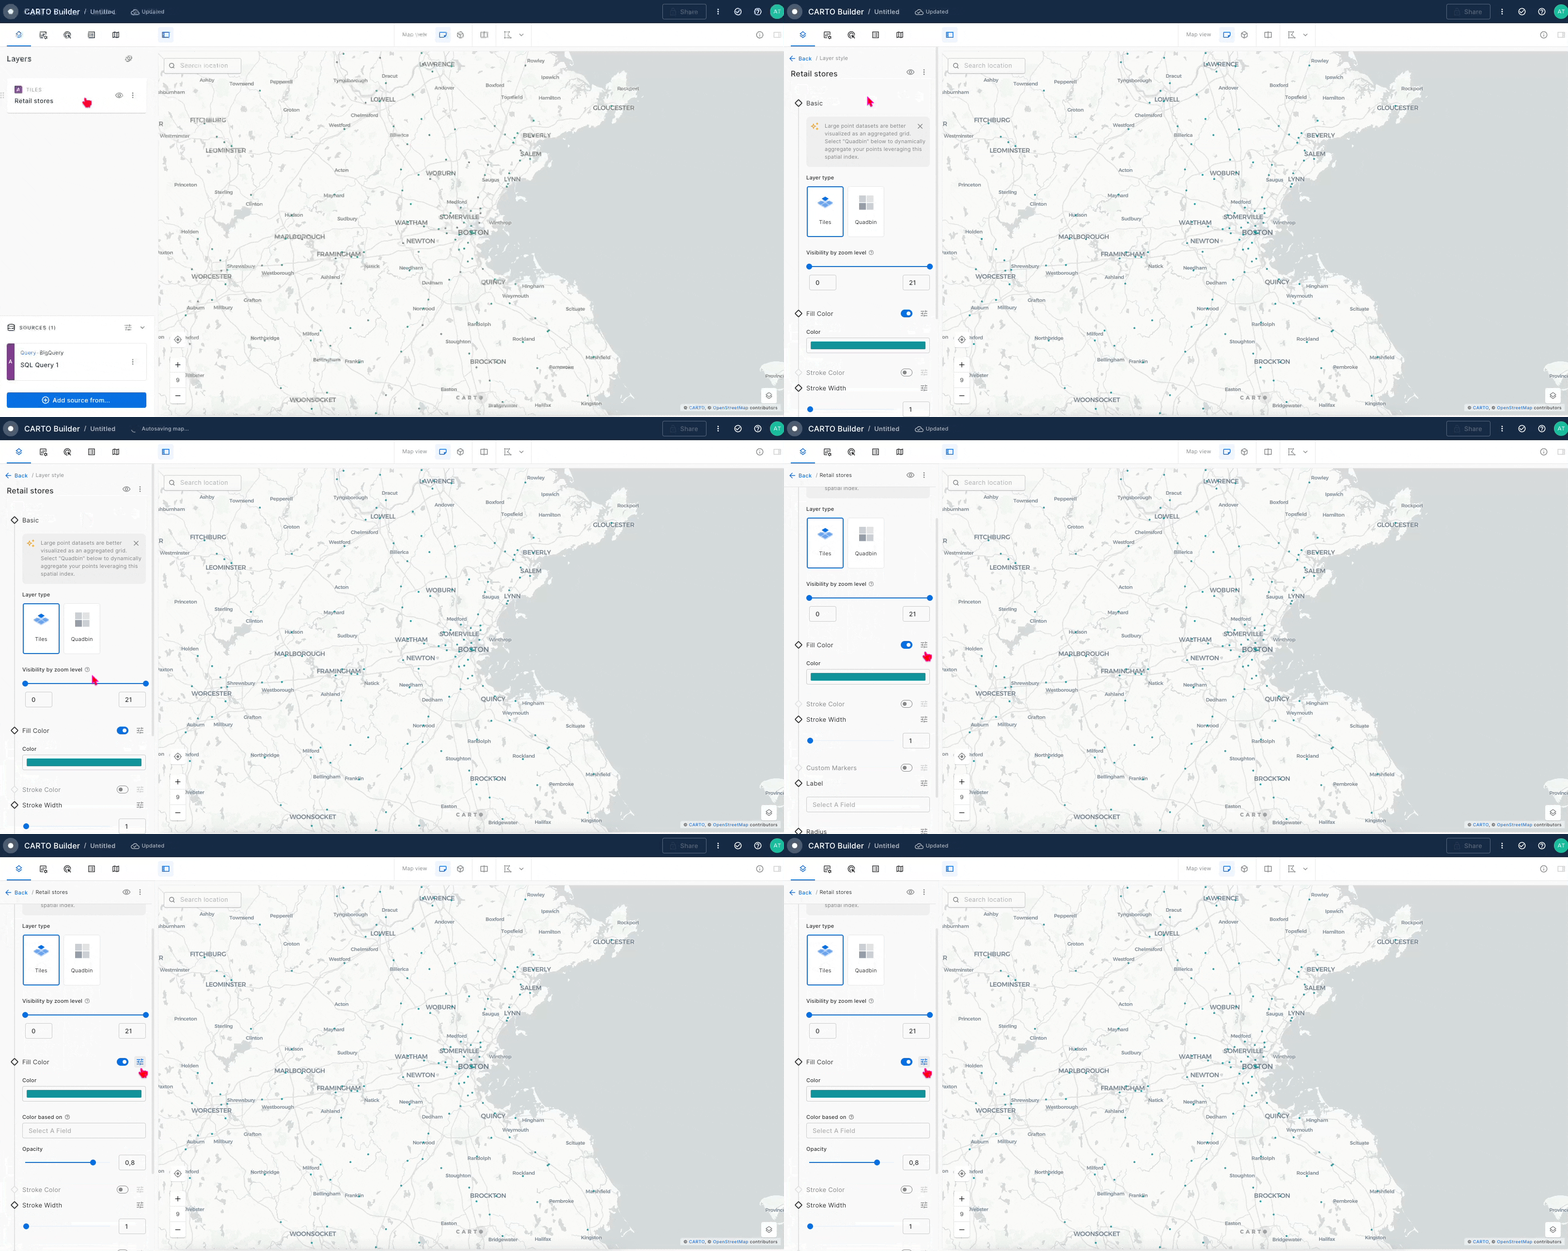
Access more Options
 in the Fill Color section and apply “Color based on" using
 Size_m2column. Pick a gradient palette (versus one for a categorical variable), and set the gradient steps to 4.
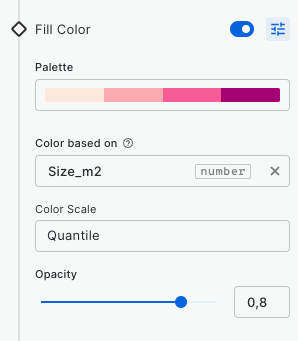
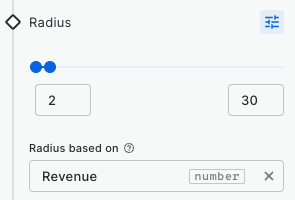
Now click on the options for the Radius configuration and in the section “Radius Based On” pick the column
Revenue. Play with the minimum/maximum size to style the layer as you like.
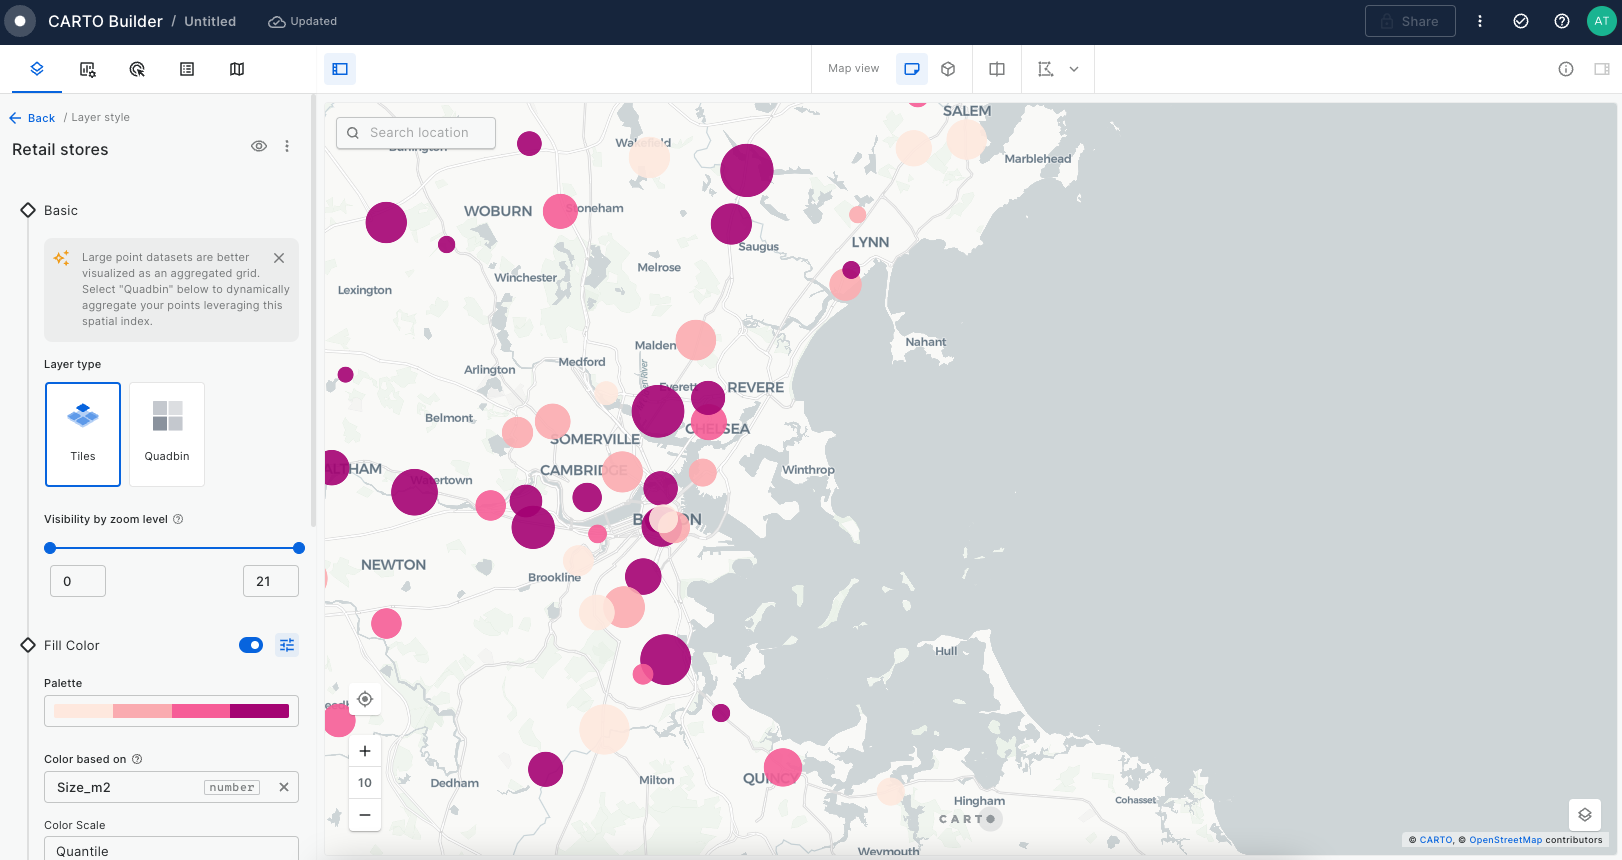
Now that you have styled "Retail stores" layer, you should have a map similar to the below.
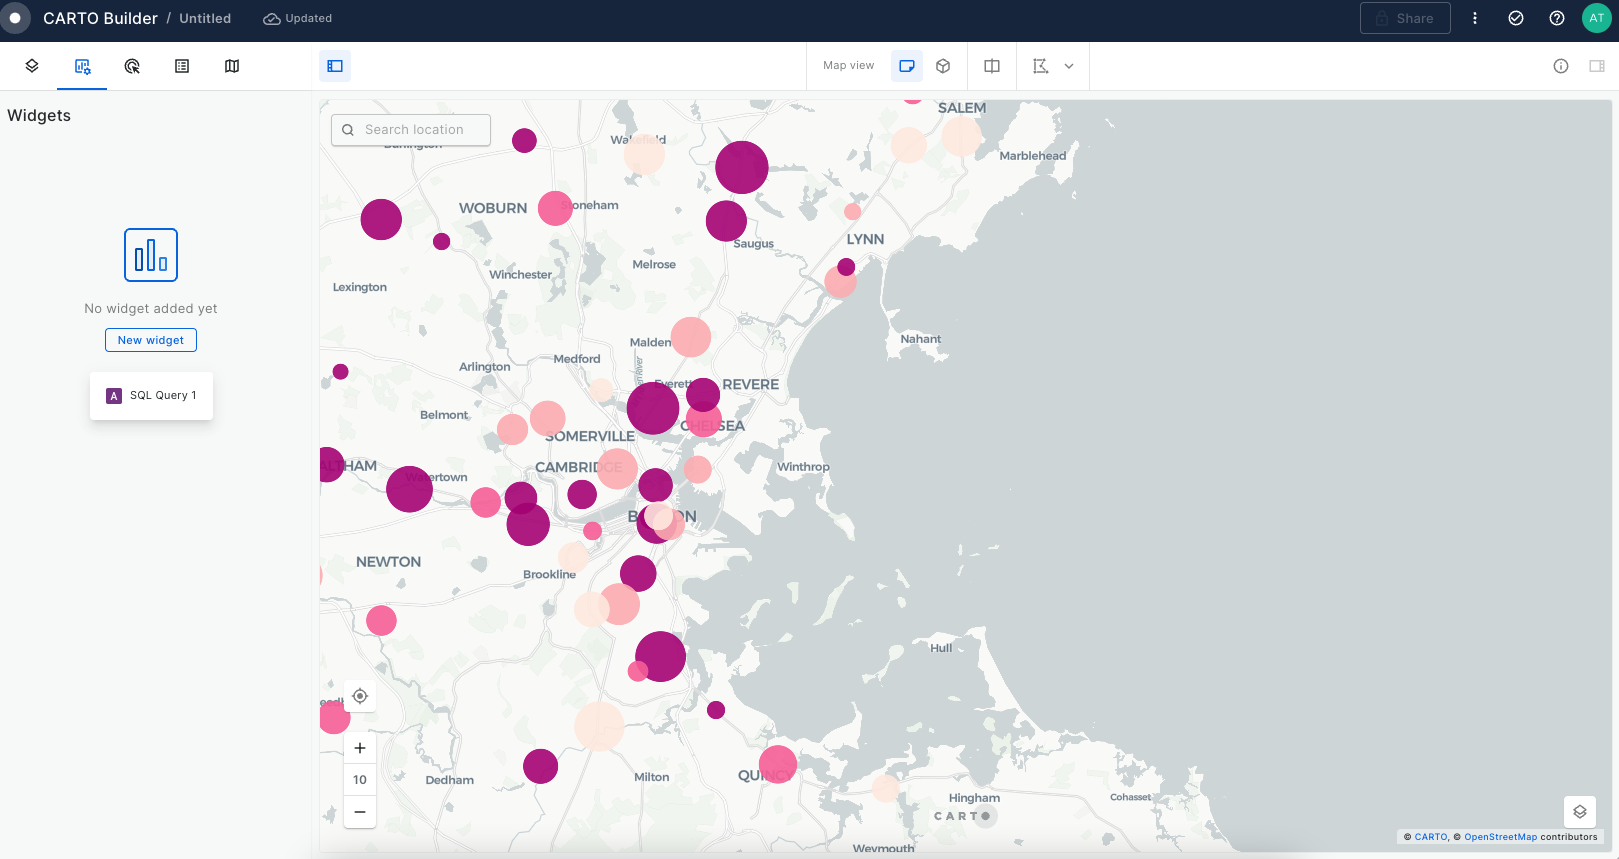
Go to Widget tab, click on New Widget button and select your SQL Query data source.
First, we create a Formula Widget for the Total Revenue. Select the
SUMoperation on therevenuefield, adjusting the output value format tocurrency. Add a note to indicate we are calculating revenue shown in the viewport. Rename to “Total Revenue”:
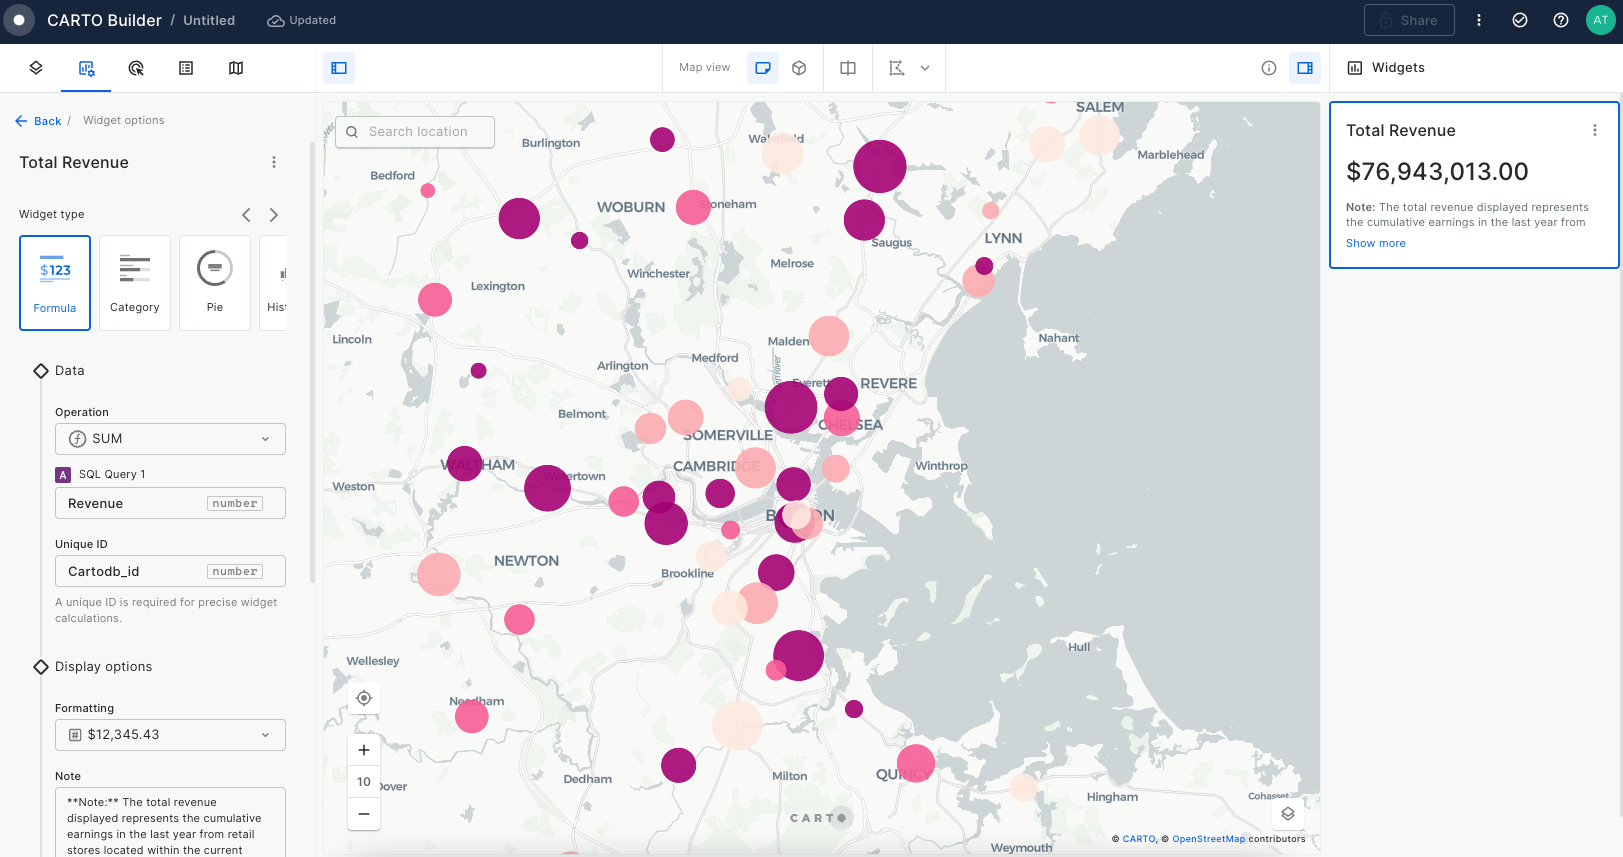
Next, we will create a widget to filter by store type. Select Pie Widget, choose
COUNToperation from the list and select the columnstoretype. Make the widgetcollapsibleand rename it to “Type of store”.
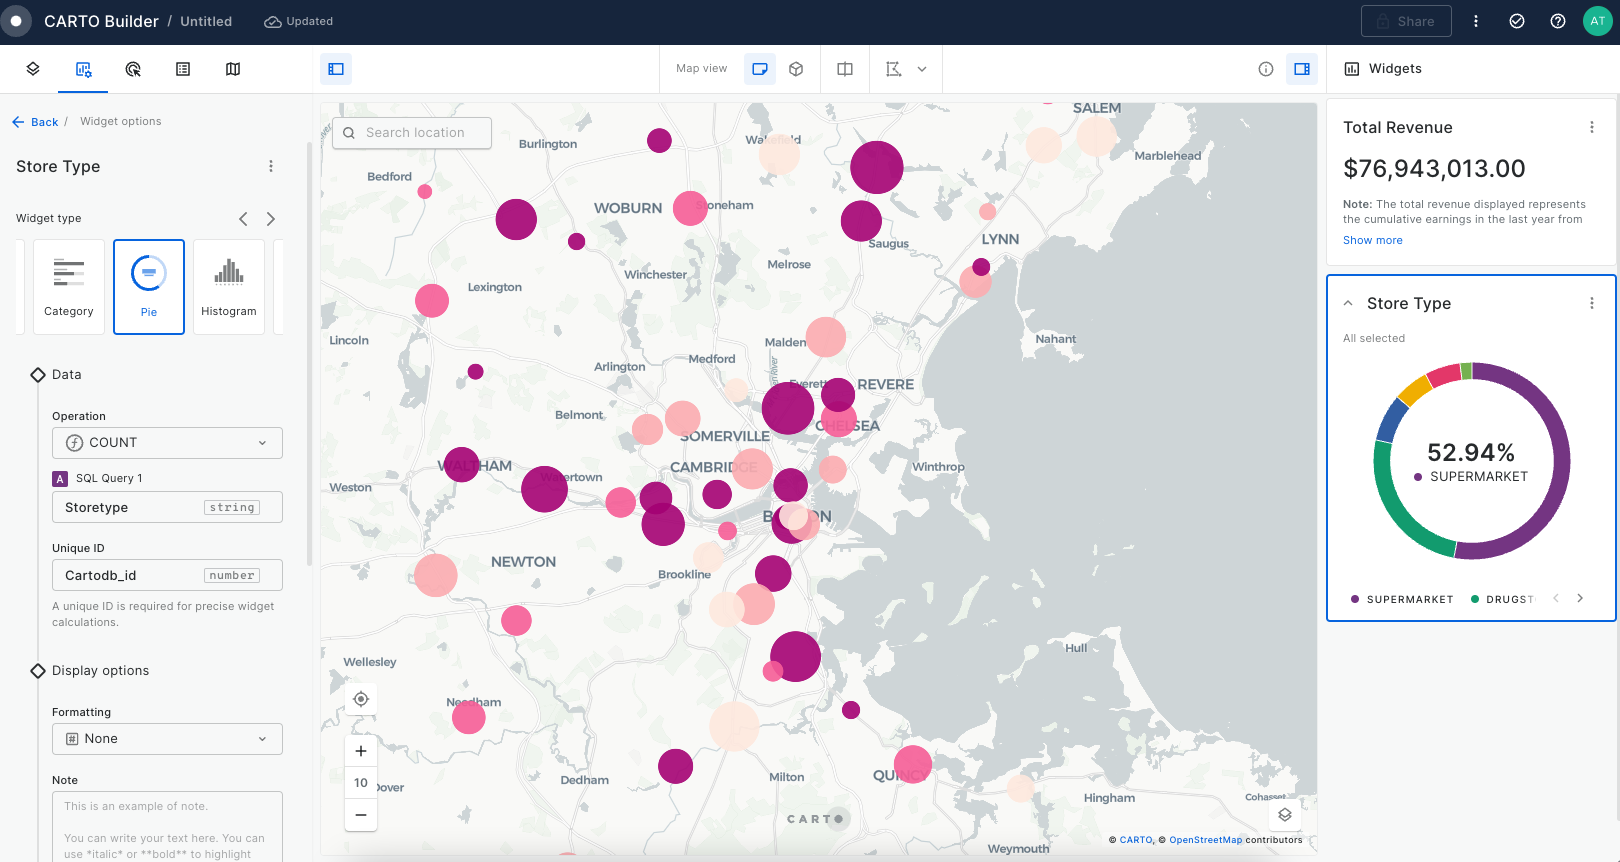
Then, we create a third widget, a Histogram to filter stores by
revenue. Set the buckets to10, formatting tocurrency, and make widgetcollapsible. Rename to “Stores by revenue”.
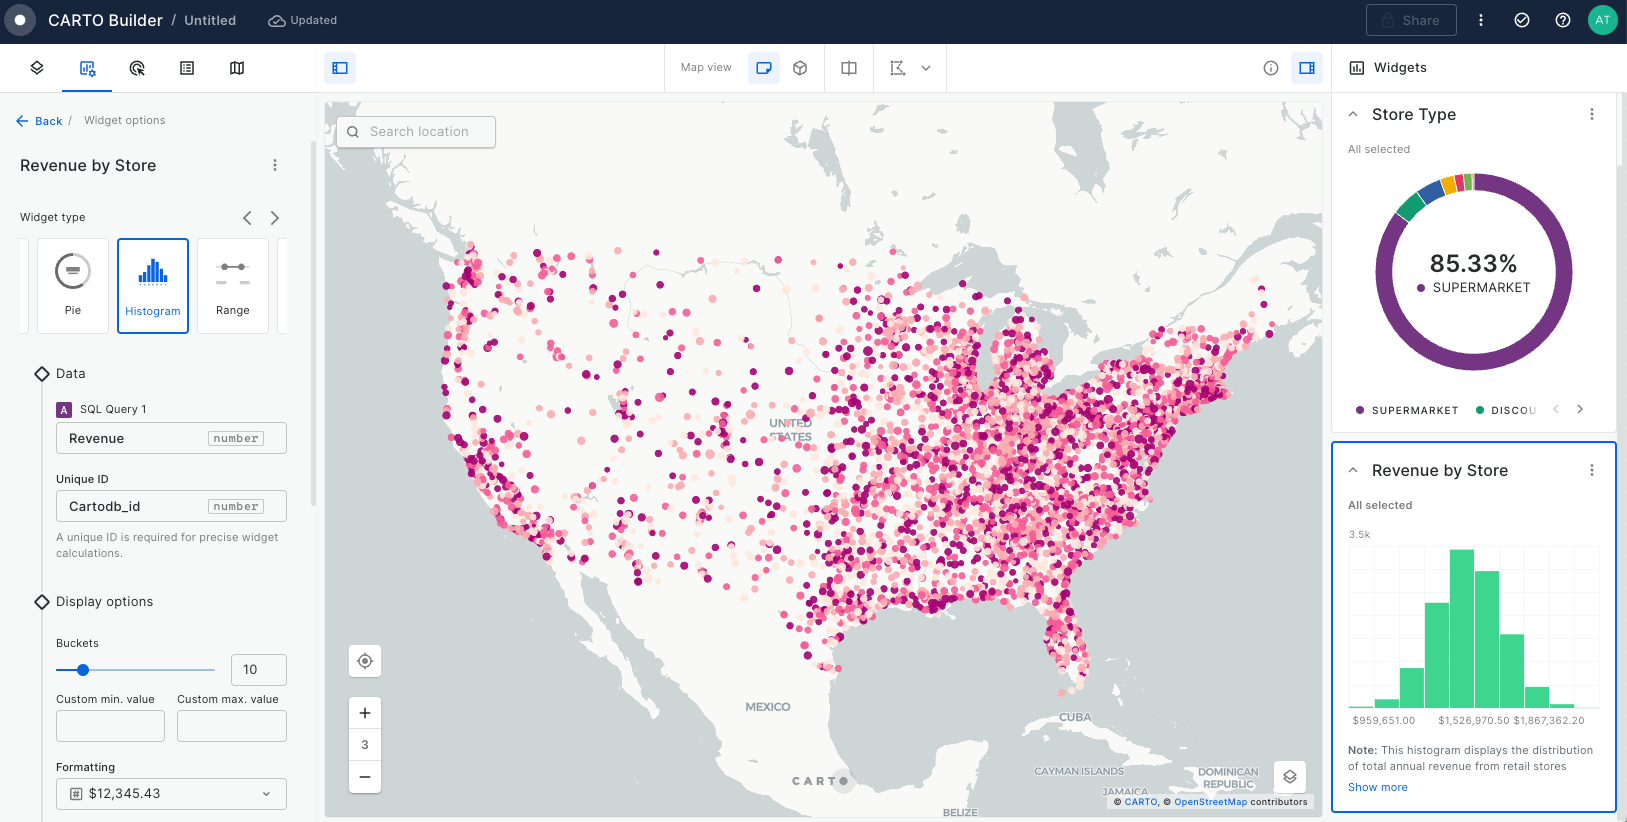
Now let’s configure the tooltip. Go to Interactions tab, activate the tooltip and select the field
Storetype,Address,City,State,RevenueandSize_m2.
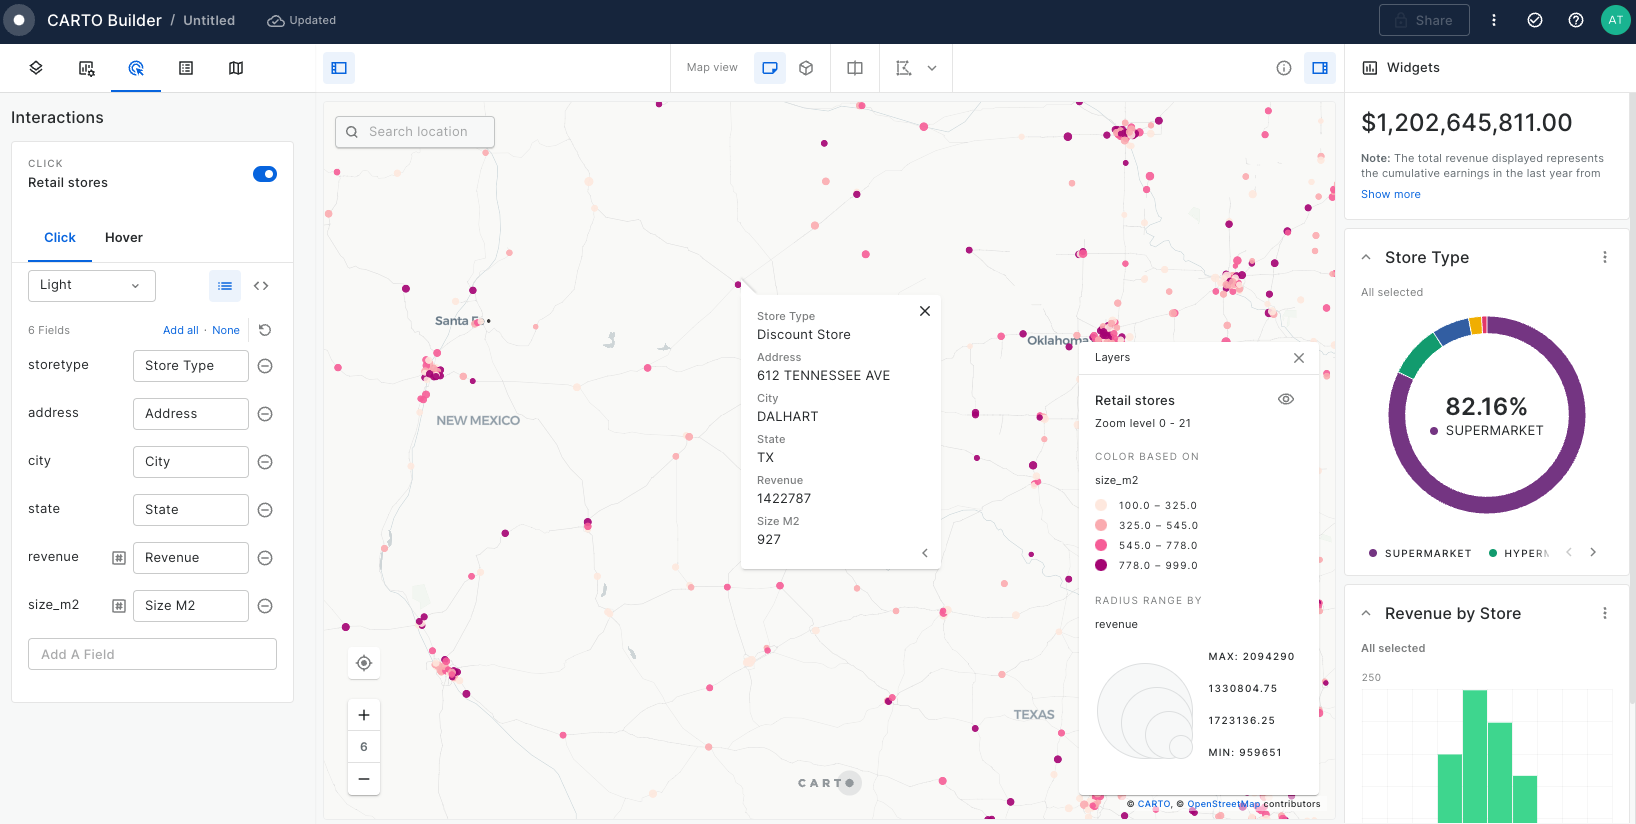
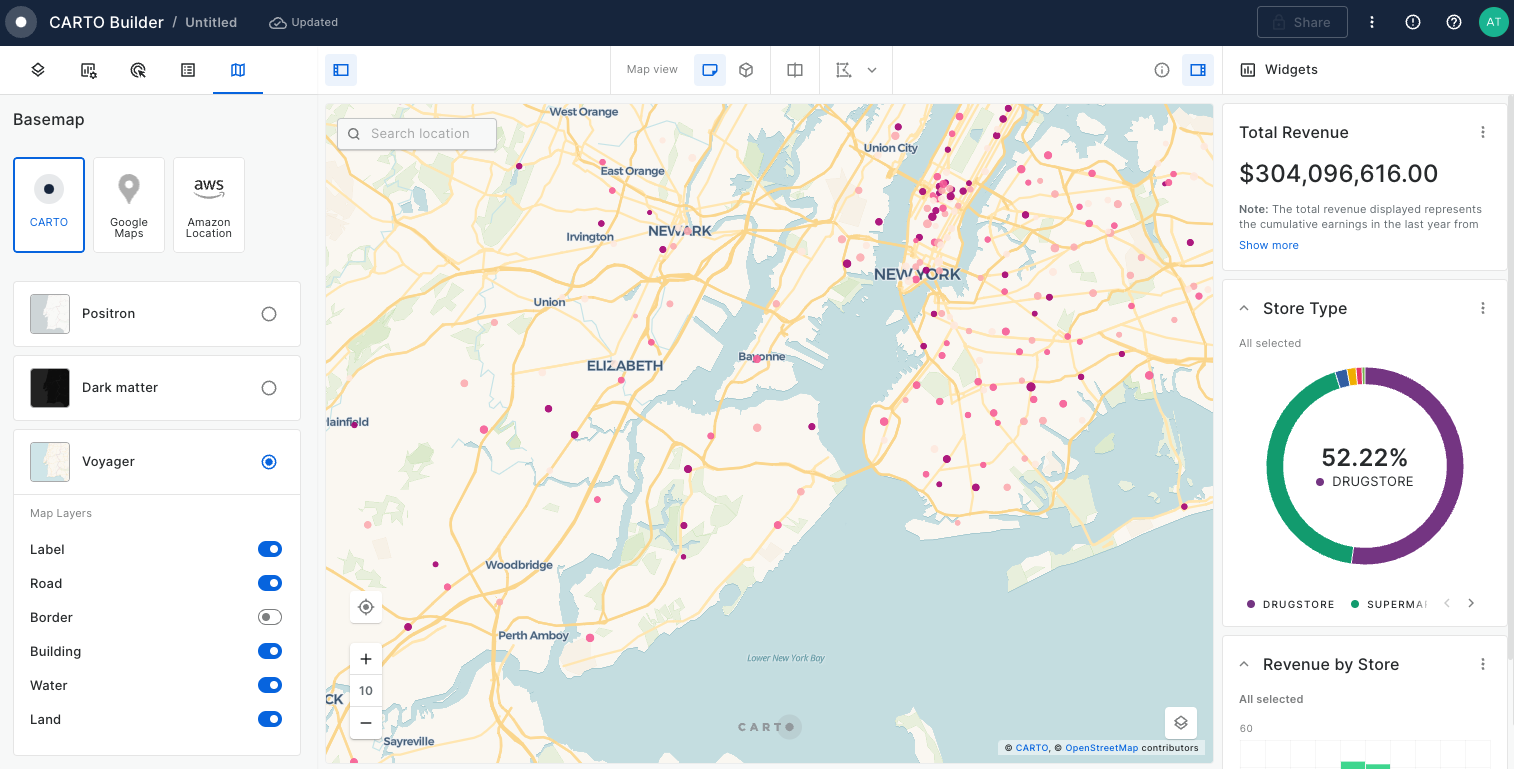
Let’s also change our basemap. Go to Basemaps tab and select “Voyager” from CARTO.
Now, we will upload the same data source using SQL Query type and this time we will dynamically aggregate it to Quadbin Spatial Indexes using the UI. To do so, run the following query:
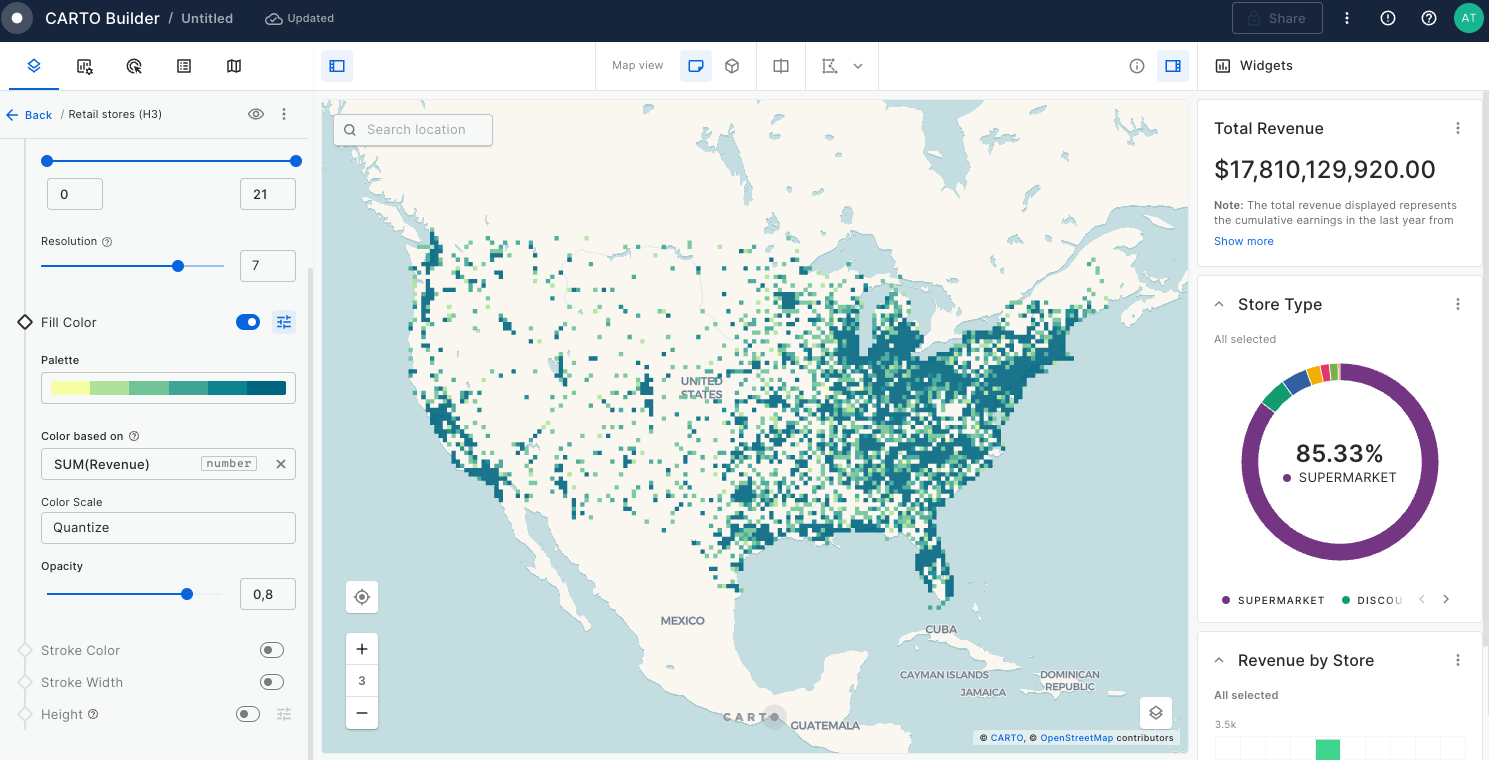
The new layer will appear. Rename the layer to "Retail stores (H3)" and using the Layer panel, aggregate it to Quadbin.

Change the order of your layer by dragging it after your point "Retail store" layer. In the layer panel, set the Spatial Index resolution to
7and style it based onRevenueusingSUMas the aggregation.
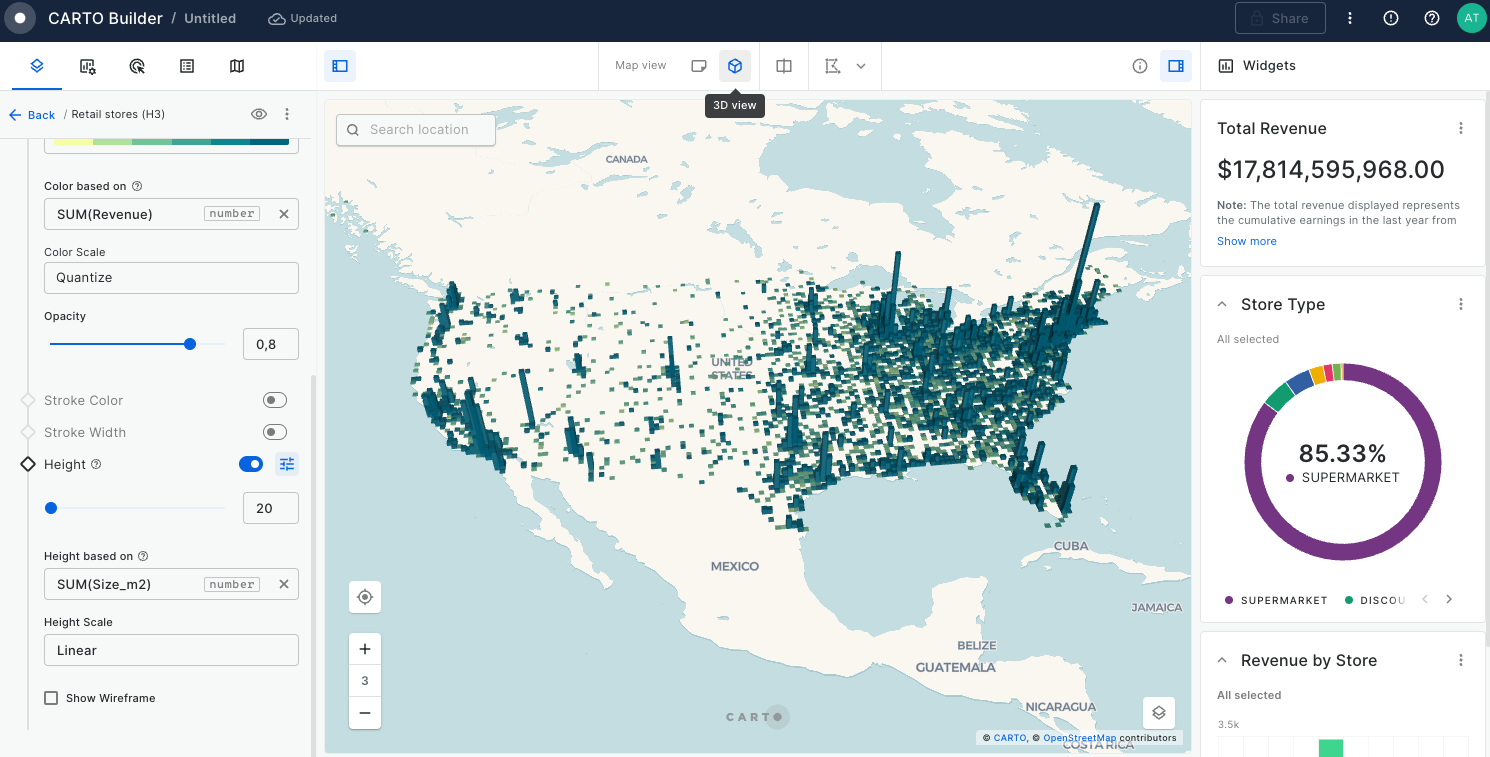
Finally, set the height of the hexagons to be based on
Size_m2, multiplying by20usingLineares the color scale. Then, set the map view to3Dto analyze the results.
Enable map dual view. On the left map disable the "Revenue store (H3)" grid layer, on the right map disable the "Retail stores" layer.
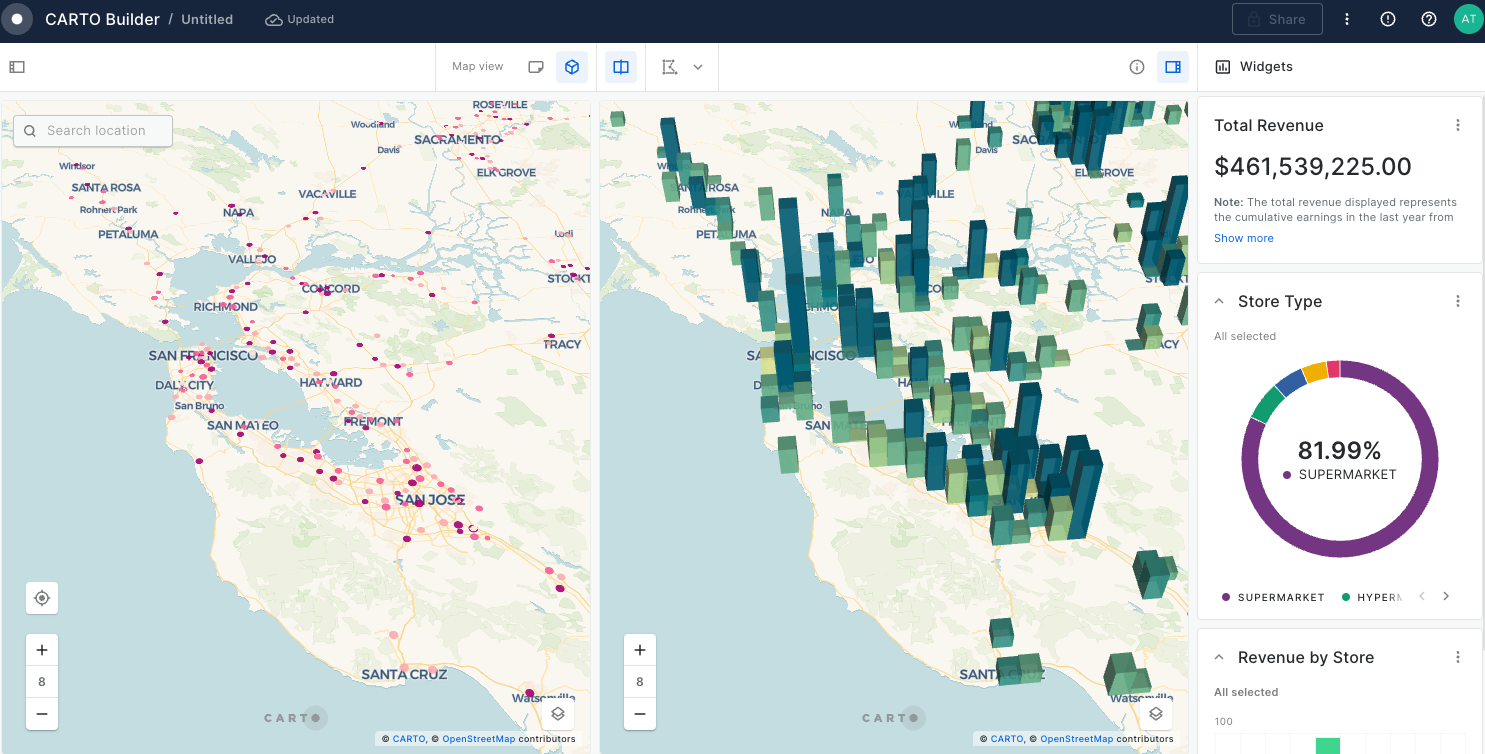
As we can see, in metro areas in the west coast we have more stores of lower surface area, yet their revenues are much higher than rural areas, where we have stores with higher surface areas.
Switch back to
single mapview mode. Hide the "Retail stores (H3)" layer. Rename the map to “Monitor retail store performance” and add a rich description using Markdown syntax.
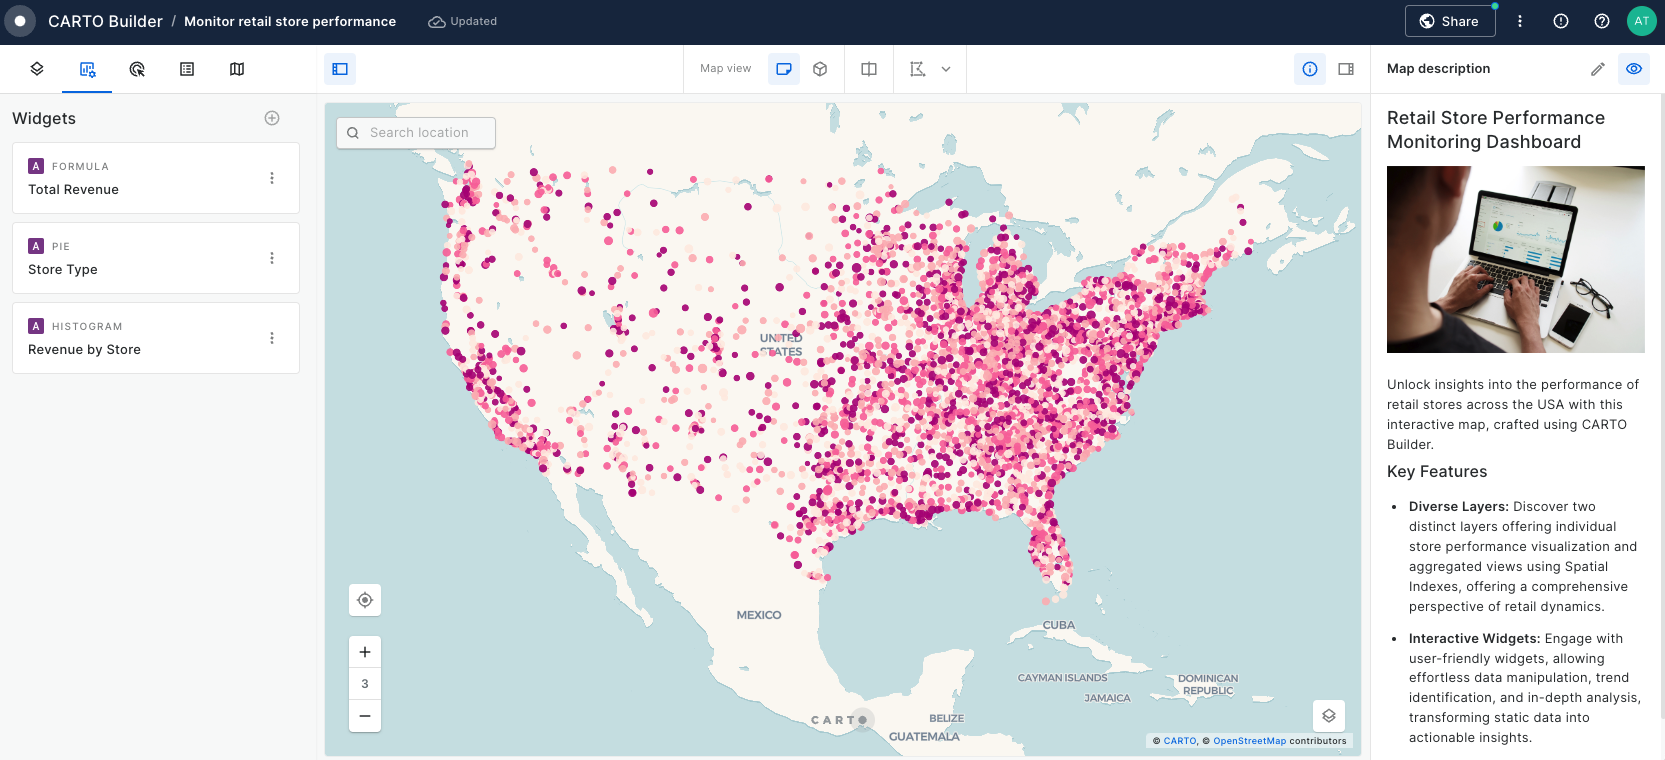
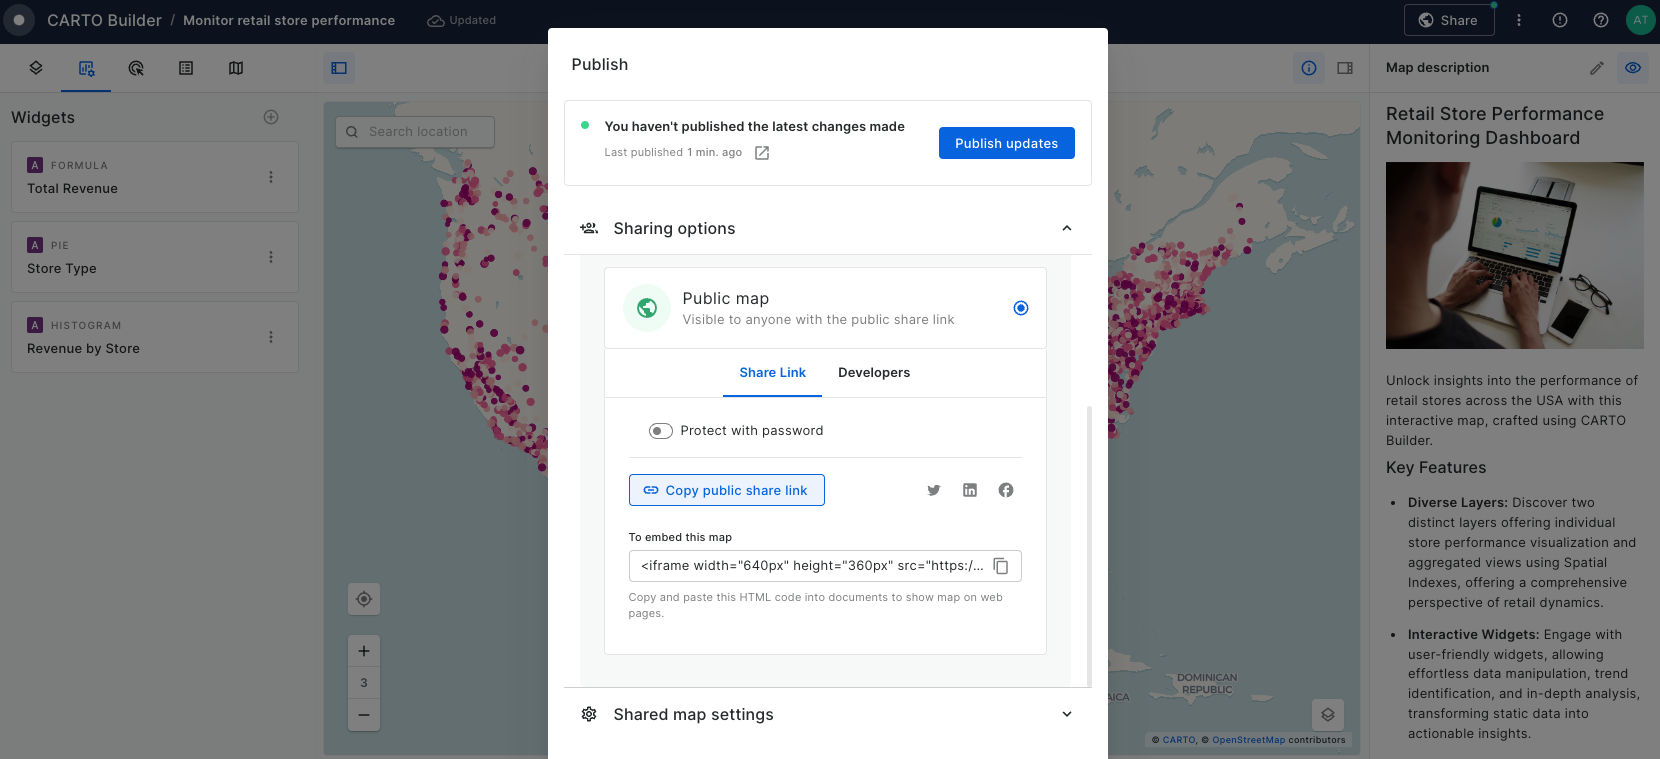
We can make the map public and share it online with our colleagues. For more details, see Publishing and sharing maps.
Finally, we can visualize the result.
Last updated
Was this helpful?

