Geocoding your address data

In this example, we will geocode a table with some Starbucks address data that we have available in BigQuery. The geocoding process will add a new column to your input table called “geom” with a Point geometry based on the geographic coordinates of the location; which are derived from the location information in your table (e.g. street address, postal code, country, etc.).
WARNING
This function consumes isolines quota. Each call consumes as many units of quota as the number of rows your input table or query has. Before running, we recommend checking the size of the data to be geocoded and your available quota using the LDS_QUOTA_INFO() function.
If you plan to repeat the geocoding process, bear in mind that if you drop columns from your table you won't be able to create columns with the same name for a period of time (7 days) because BigQuery reserves the deleted columns names for time travel purposes. So, for example, instead of dropping the geom column to re-geocode all rows, update the table and set it to NULL.
Geocoding from the BigQuery console
As a module within CARTO’s Analytics Toolbox, the location data services (lds) capabilities are available as SQL procedures that can be executed directly from your BigQuery console or client of choice after connecting your BigQuery project with your CARTO account. To check whether your Google account or Service Account has access to the LDS module, please execute this query:
The lds module is generally available in the Analytics Toolbox since the “July 26, 2022” version. Please check the Getting Access section if you run into any errors when running the query above.
For this example we will use a table with the Starbucks addresses that can be found in the publicly available bqcartodemos.sample_tables.starbucks_ny_geocode . The table contains a column called “full_address” that we will use as input for the geocoding process.
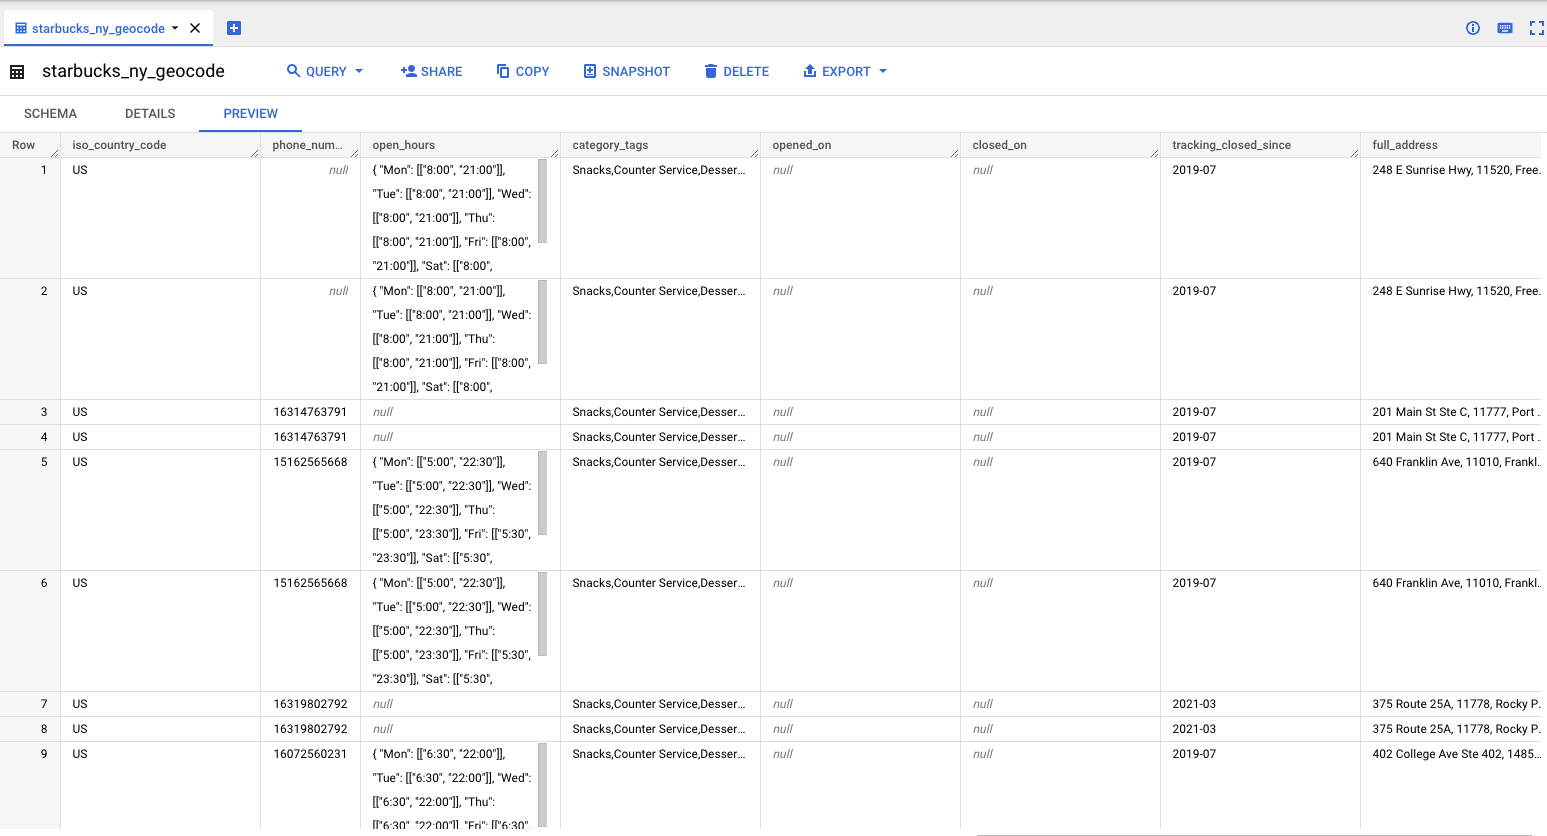
Once you are all set getting access to the lds module, geocoding your data is as easy as opening your BigQuery console or SQL client and running the GEOCODE_TABLE() procedure as detailed in the following query:
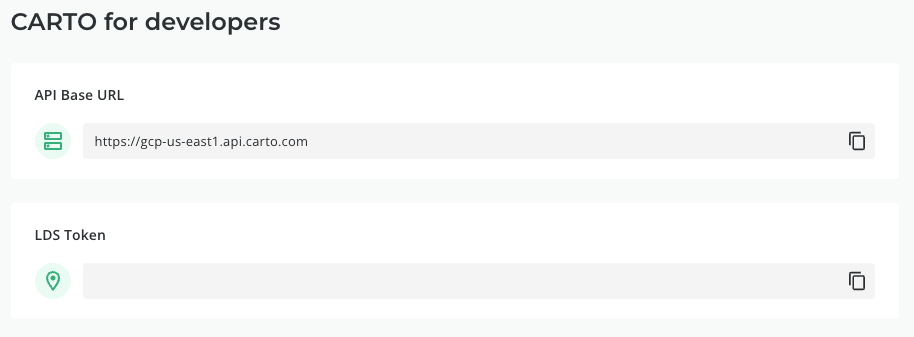
In this case, we select ‘bqcartodemos.sample_tables.starbucks_ny_geocode’ as input table and “full_address” as address column. We choose the “geom” as the column name for the geometry column (like it is by default), and we also specify the name of the country based on its ISO 3166-1 alpha-2 code ISO 3166-1 alpha-2 code. Last but not least, you need to add to the query your API Base URL and your LDS Token, which can be obtained in the Developers section of the CARTO Workspace. You can refer to the SQL reference if you need more details about this procedure and its parameters.
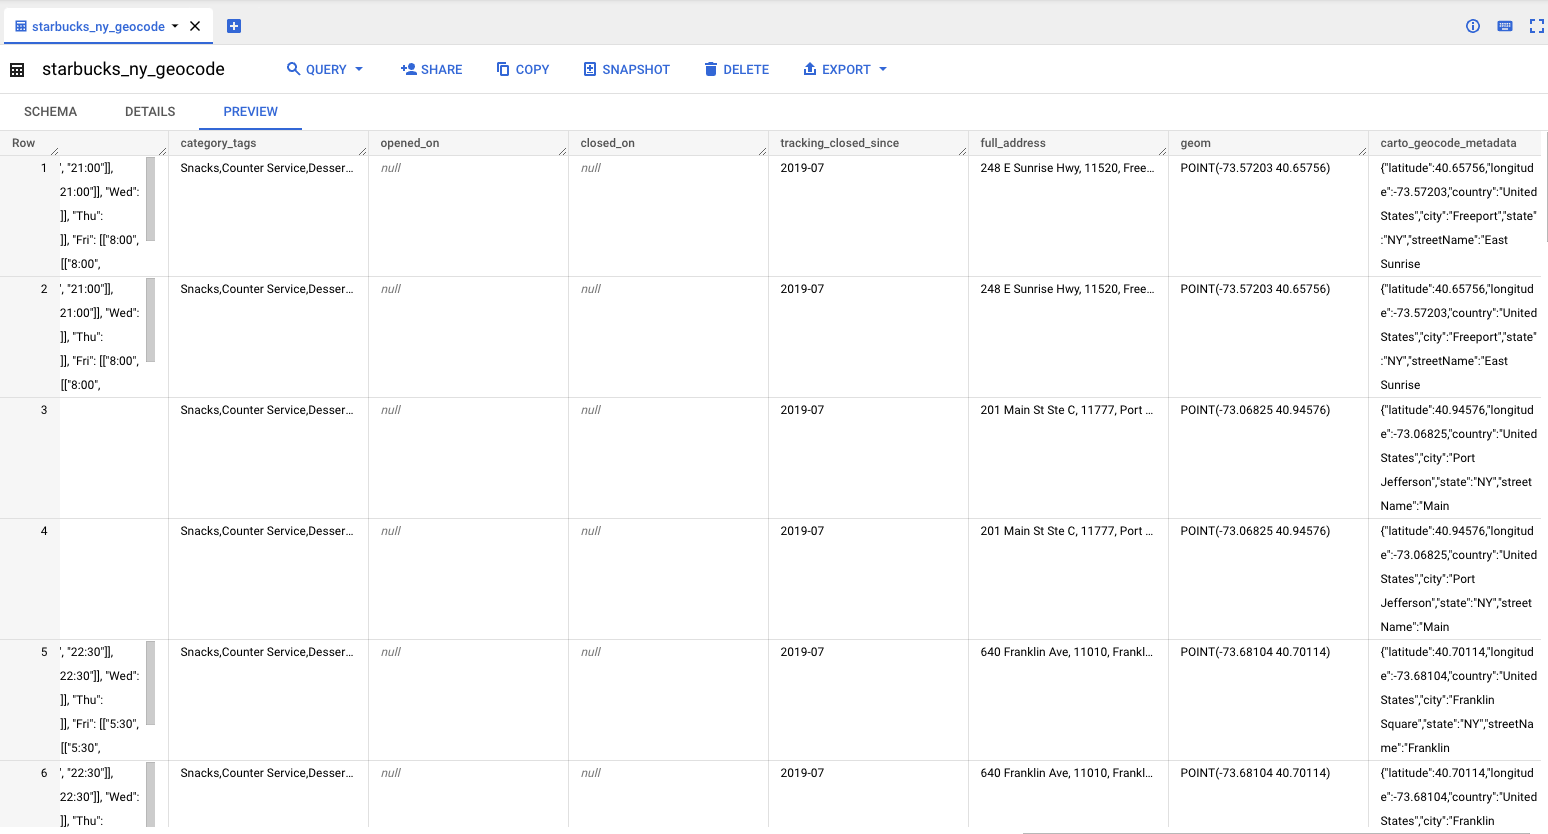
As a result of the query, we obtain the input table modified with a new column called “geom” with the geographic coordinates (latitude and longitude) and the “carto_geocode_metadata” column with additional information of the geocoding result in JSON format.
Geocoding from CARTO Workspace
The Data Explorer offers you a graphical interface that you can use to geocode your data. Let’s use it here to reproduce the same use case that we have done from the BigQuery console but from the CARTO Workspace.
You will find the option Geocode table available from the Data Explorer in tables that do not contain any geometry column. To find your table please select the corresponding connection, pick the right dataset/folder and find the table you want to geocode from the collapsible tree.
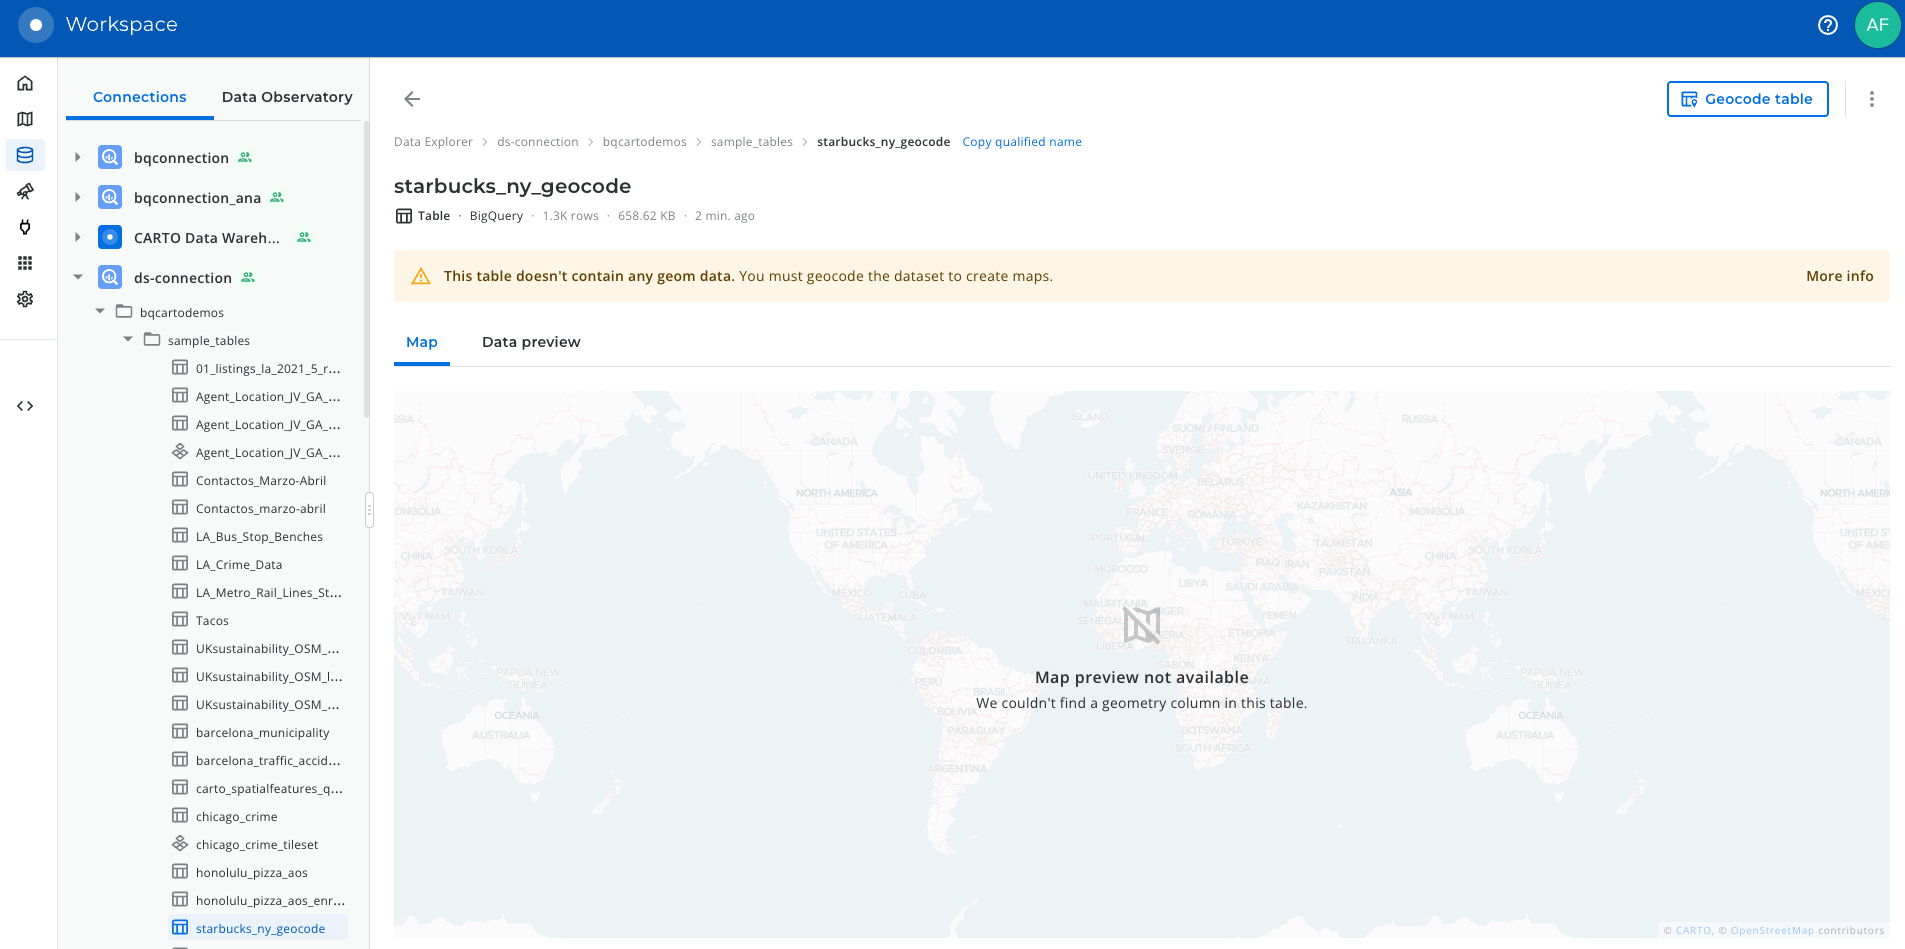
Clicking on the “Geocode table” button will trigger a wizard that you can follow along to configure the different parameters to geocode your data.
In this case, to reproduce the geocoding example that we have done before from a SQL console, we will select geocode by address and we will choose the ‘full_address’ column as input parameter. You can also provide extra location information choosing “United States of America” in the country selector.
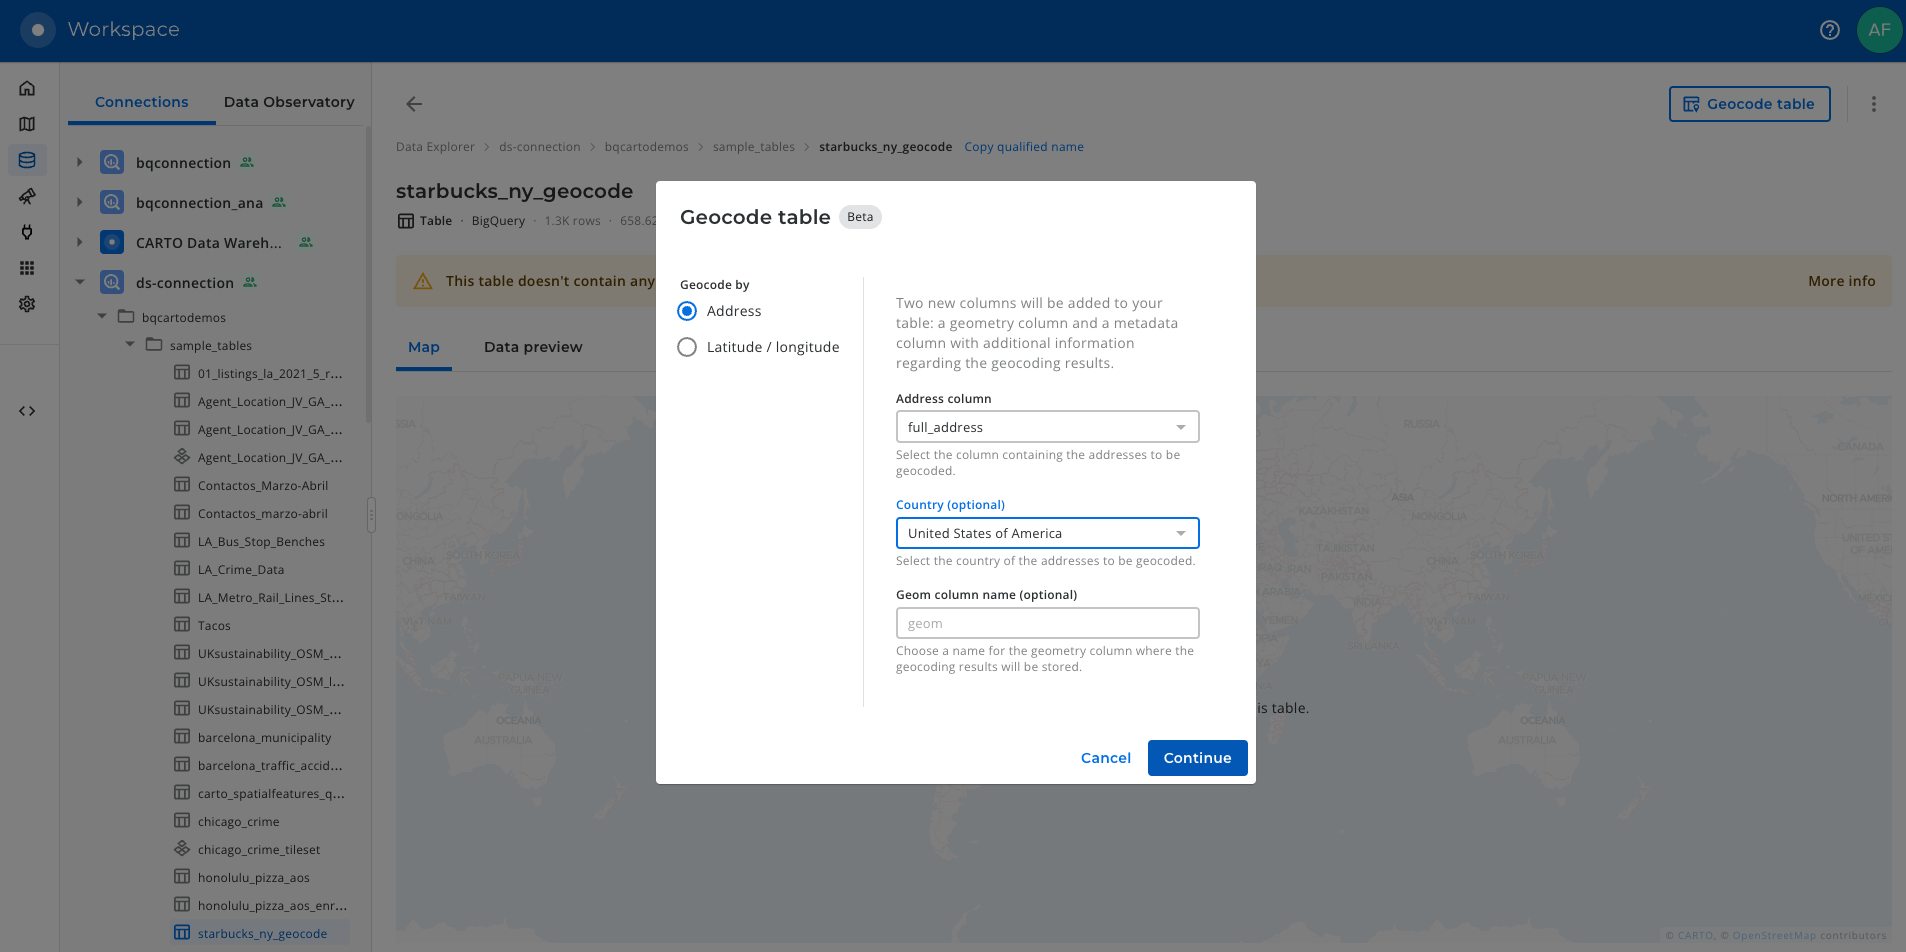
Click on “Continue” to proceed to the next step where you can review the summary of the operation that will be performed on your data and confirm it by clicking on “Geocode”.
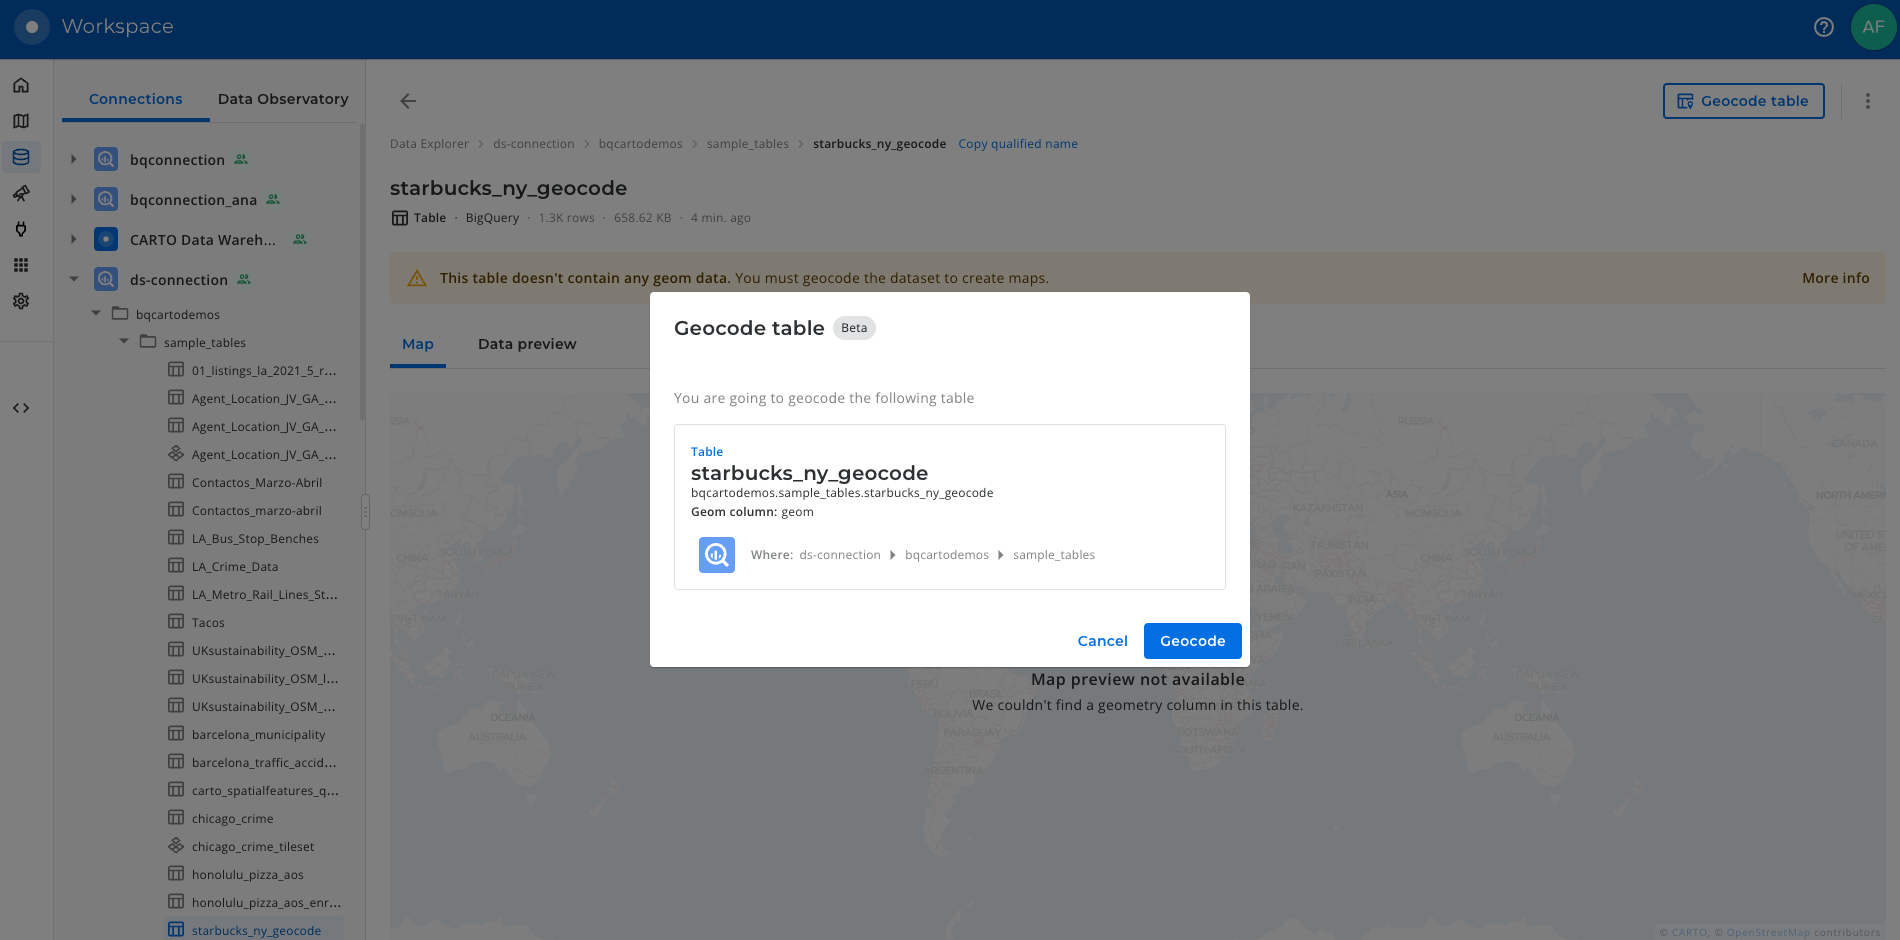
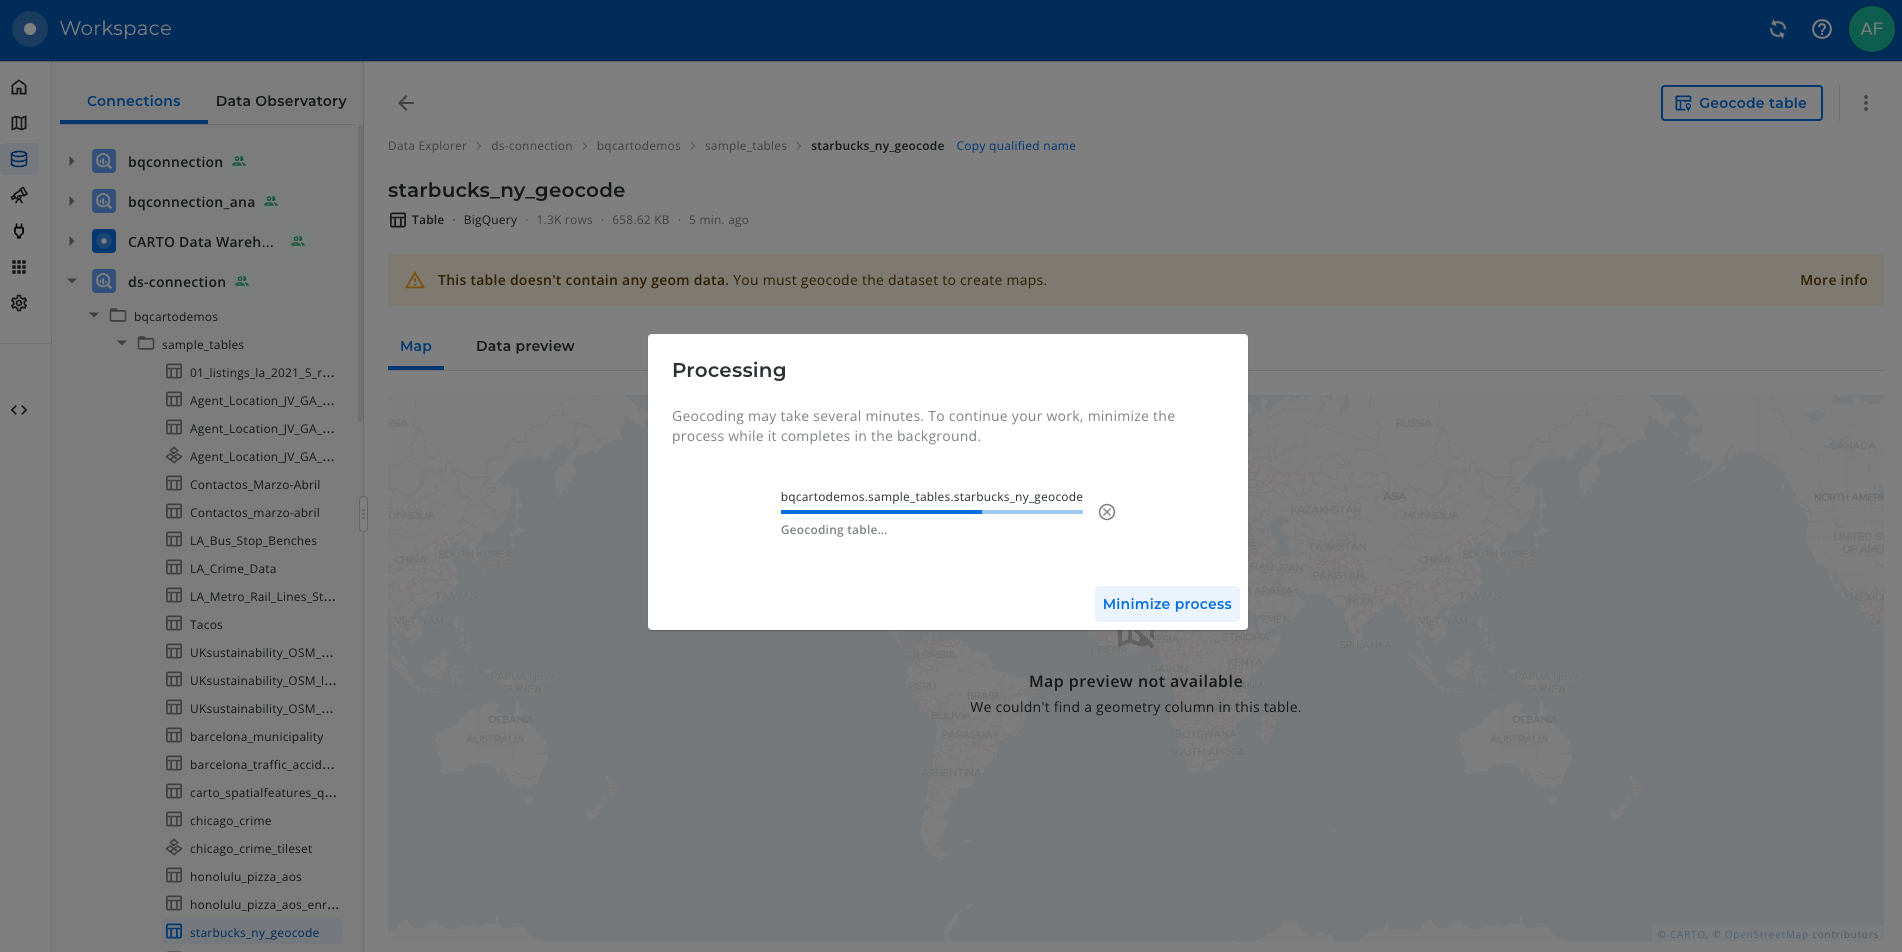
The geocoding process could take some minutes, remember that you may be geocoding a big amount of data and that the operation is calling an external geocoding service. You can minimize the process window and continue working with CARTO in the meantime and follow the progress of the geocoding process at any time you want.
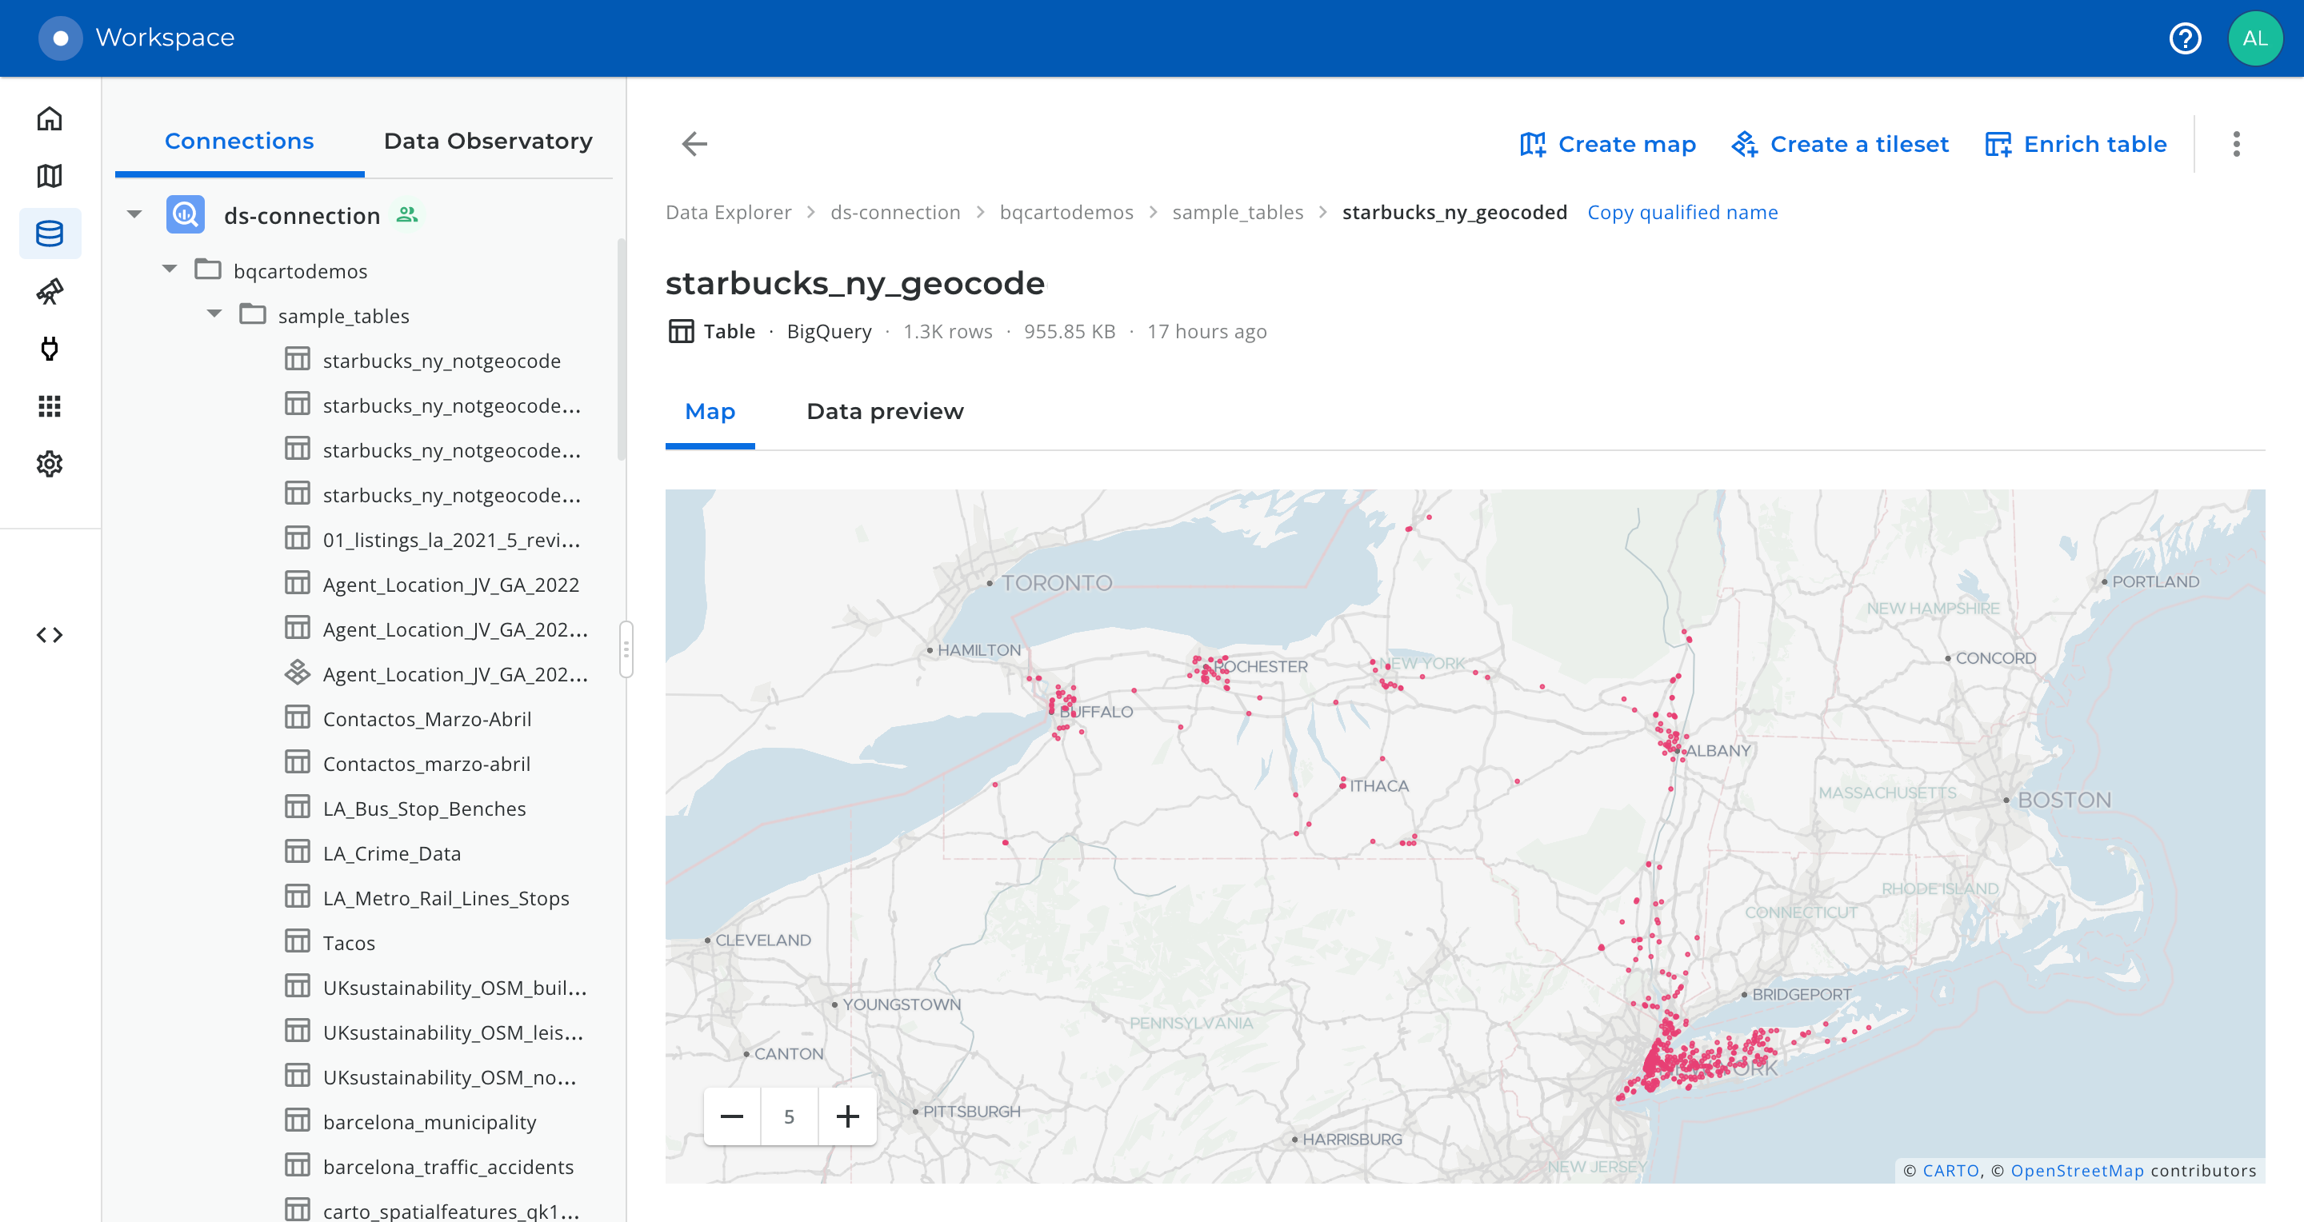
Once the process finishes, you will be able to access your geocoded table, which will have a new column called “geom” including the geographic coordinates of your input data.
 This project has received funding from the European Union’s Horizon 2020 research and innovation programme under grant agreement No 960401.
Last updated
Was this helpful?

